A dripping toilet bowl is not only annoying but can also lead to wasted water and higher bills. The constant sound of dripping water can be maddening, but fear not, because in this comprehensive DIY guide, we will walk you through the process of fixing a dripping toilet bowl in 10 easy steps. Before we dive into the solutions, let’s first understand what causes a toilet to make that irritating dripping sound.
Table of contents
What Causes a Toilet to Make a Dripping Sound?
Before you embark on fixing the issue, it’s essential to know why your toilet is making that annoying dripping sound. Several common reasons can contribute to this problem:
- Faulty Flapper: The most common cause of a dripping sound is a worn-out or misaligned flapper. The flapper is responsible for sealing the flush valve and preventing water from continuously flowing into the bowl.
- Damaged Flush Valve: If the flush valve is damaged or malfunctioning, it can result in a constant trickle of water into the toilet bowl. This often happens when the seal or gasket within the flush valve deteriorates.
- Loose or Damaged Fill Valve: The fill valve, which controls the water level in the tank, can become loose or damaged over time. A loose fill valve may not shut off the water flow properly, leading to a continuous drip.
- Water Pressure Issues: High water pressure in your plumbing system can cause water to continuously flow into the toilet bowl, even after flushing. This can strain the fill valve and result in a dripping sound.
- Mineral Buildup: Mineral deposits can accumulate in various components of the toilet, including the flapper, flush valve, and fill valve. These deposits can interfere with the proper functioning of these parts.
- Chain Problems: If the chain connecting the flush handle to the flapper is too long or too short, it can affect the flapper’s ability to seal correctly, causing a dripping sound.
Now that you understand some common causes of a dripping toilet, let’s move on to the 10-step guide to fix this annoying problem.
The 10-Step Guide
Step 1: Gather Your Tools and Materials
Before you begin the repair process, it’s crucial to have all the necessary tools and materials at hand. Here’s a checklist:
- Adjustable wrench
- Screwdriver (both flathead and Phillips)
- Pliers
- Bucket
- Towels or rags
- Replacement flapper or flush valve kit (if necessary)
- Toilet tank repair kit
- Teflon tape
- Rubber gloves
Step 2: Turn Off the Water Supply
Locate the water supply valve behind your toilet and turn it off by turning the valve clockwise. Flush the toilet to empty the tank completely. This step is crucial to ensure your safety and prevent any water leakage during the repair.
Step 3: Remove the Tank Lid
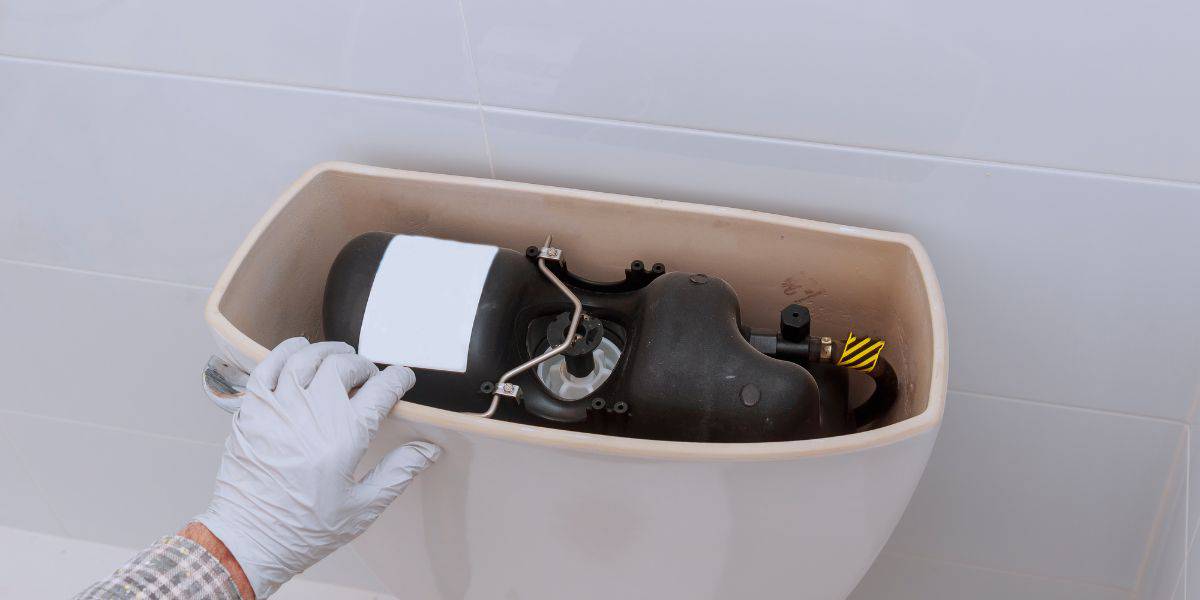
Carefully lift off the tank lid and place it on a soft surface to avoid chipping or cracking. Inspect the inside of the tank for any visible damage or leaks.
Step 4: Identify the Cause of the Drip
In most cases, a dripping toilet bowl is caused by a faulty flapper or flush valve. To identify the issue, flush the toilet and observe what’s happening inside the tank. If water continues to leak into the bowl after the flush, it’s likely a flapper problem. If the tank doesn’t refill correctly, you might need to replace the flush valve.
Step 5: Replace the Flapper
If the flapper appears damaged or worn, it’s time for a replacement. Follow these steps:
- Remove the old flapper by disconnecting it from the flush chain and any attachment points.
- Install the new flapper by attaching it to the flush chain and any corresponding clips.
- Ensure the flapper sits securely over the drain hole at the bottom of the tank.
Step 6: Check the Flush Valve
If the flapper replacement doesn’t solve the issue, inspect the flush valve. It’s located in the center of the tank, and its job is to release water into the bowl during flushing. If it’s faulty, follow these steps to replace it:
- Shut off the water supply to the toilet.
- Drain the tank completely by flushing and holding down the handle.
- Remove the nuts securing the tank to the bowl.
- Carefully lift the tank off the bowl and place it on a soft surface.
- Disconnect the old flush valve from the overflow tube.
- Install the new flush valve according to the manufacturer’s instructions.
- Reassemble the tank and bowl, ensuring a secure fit.
- Turn on the water supply and check for leaks.
Step 7: Inspect and Replace the Fill Valve
Sometimes, a dripping toilet bowl can be caused by a malfunctioning fill valve. This component controls the water level in the tank. Here’s how to inspect and replace it:
- Turn off the water supply and flush the toilet to empty the tank.
- Disconnect the supply line from the bottom of the fill valve.
- Remove the fill valve by loosening the lock nut on the outside of the tank.
- Install the new fill valve according to the manufacturer’s instructions.
- Reconnect the supply line and turn on the water supply.
- Adjust the water level by following the fill valve’s instructions.
Step 8: Reassemble the Toilet
If you had to remove the tank to replace the flush valve or fill valve, it’s time to reassemble the toilet. Make sure all the components are securely in place, and the tank is firmly attached to the bowl.
Step 9: Turn On the Water Supply
Turn the water supply valve back on by turning it counterclockwise. Allow the tank to fill completely, and check for any leaks around the connections you’ve worked on. If there are no leaks, you’re on the right track.
Step 10: Test the Toilet
Finally, give your toilet a few test flushes to ensure it’s working correctly. Watch for any signs of water leakage or dripping into the bowl. If everything looks good, you’ve successfully fixed your dripping toilet bowl!
Conclusion
Fixing a dripping toilet bowl is a manageable DIY project that can save you both water and money. By following the steps outlined in this guide and understanding the common causes of a dripping sound, you can tackle the issue with confidence.
Remember that regular maintenance and timely repairs can prevent more significant plumbing problems down the road. So, whether you’re dealing with a faulty flapper, a damaged flush valve, or a problematic fill valve, these 10 steps will help you resolve the issue and put an end to that irritating dripping sound once and for all. Happy DIYing!


