For all the DIYers, budget-conscious builders, and home improvers, making something on your own is almost always preferable to pre-made, and it’s always the little handmade details that make a project extra special.
Here’s how to add that extra handmade detail to your entire house by making your own baseboards.
- Measure the area where the baseboards will be installed.
- Choose the cut and color design.
- Select wood.
- Invest in a jointer, planer, table saw, and router table.
- Dress all wood for cutting using planer and jointer.
- Use router and table saw to cut design into the first two inches.
- Stain or paint baseboards.
- Install baseboards.
Moldings, baseboards, and all woodwork are cherry on top of any great home remodel. Creating your own baseboards allows you to put your creativity and DIY skills to use in every room of your house. While it takes time and effort, making your own baseboards lets you add a totally unique design element to your home that perfectly matches your tastes and style.
Measure the Area
The first step for your DIY baseboards is going to be measuring the room where you will be installing the baseboards in. Making your own baseboards is a labor-intensive process, so you don’t want to make more than you need. Measure your walls and add an extra half inch for each toe or heel cut you will have to make. Toe and heel cuts are the angled cuts that allow baseboards to fit together in corners. One corner equals an extra inch of wood. It is a good idea to get at least an extra 15% of the length of wood than you expect you need to account for mistakes and wasted wood, especially if this is your first time making your own baseboards. Be sure to use the same measuring tape to measure all aspects of your project, from walls to raw wood.
Choose the Cut and Color Design
The design of your baseboards is where you get to express your creativity. You can leave your baseboards plain for a more rustic, homey look, while stained baseboards are classic and can match your hardwood floors. Painted baseboards, usually white, are more common in modern homes. Or you can do something totally you. If you want baby pink baseboards in your color-coded nursery or fire engine red baseboards in your ‘50s style kitchen, go for it. You’re already investing a lot of time into making your own custom wood trim. You have no limits here in what you can do beyond your own daring. Live your life; have pumpkin orange baseboards, if that’s what makes you happy. The cut of your baseboards will be determined by your router bit. Invest in a wide range of bits to give yourself more options. As you get more comfortable with making your own baseboards, you can stack wood and use multiple bits to create even more unique designs.
Select Your Wood
Since you’re making your own baseboards, you have more flexibility with the type of wood you use. The color design of your baseboards will determine the best kind of wood to use. If you are painting or want to leave your baseboards plain, pine wood is a good choice. Pine is not the best for a formal look with staining, but you can stain it if you choose. However, pine has a pitch that can bleed through primers and paint, so you may need to apply a coat of dewaxed shellac before priming. If you are going for a stain to match existing molding or hardwood floors, you’re going to need a hardwood. The budget-conscious might prefer medium density fiberboard to wood. MDF is great for painted baseboards, but wood is better for stained baseboards.
Invest in a Jointer, Planer, Table Saw, and Router Table
A jointer, planer, table saw, and router table are basic shop tools that will prepare you for a vast range of woodworking projects in the future. If you’re committed enough to make your own baseboards, you’ll definitely find uses for these tools in the future, so they’re worth the investment. If you’re tight on a budget or don’t have the space to store these tools, ask your DIY friends or long-term homeowners. If you’re not quite at the level of DIYer that just happens to have a table saw in the garage, chances are your parents or grandparents have one. But if you’re looking to buy your first shop tools, don’t cut corners on your corner-cutting tools. You’re going to spend good money on these tools, so make sure you get ones that will last you a lifetime of DIYing.
Dress All Wood for Cutting
Before you start cutting your wood, you’ll need to dress it for cutting. This means flattening rough-hewn lumber and squaring it up so that it is straight and a consistent thickness. Here’s where you’ll use your brand-new jointer and planer. First, joint each face of the board – this is the widest part of the wood. Next, square up each edge of the board. Then you’ll feed each piece of wood into your planer to ensure your wood is the same thickness throughout.
Use Router and Table Saw to Cut Design
Here comes the fun part – actually cutting out your design. A simple design may require only one pass on your router to cut the first design, then as many extra passes as needed to get the finishing smoothness on your design. For a more complicated design, cut your design into the first two inches of a plank. Use your table saw with a rip or dado blade to remove excess wood on your wood before running it back through your router to cut the design into the entire plank. Then keep running it through the router until you achieve the smoothness you’re looking for. These are the two simplest ways to make your own baseboards and the best route for beginners.
Stain or Paint Your Baseboards
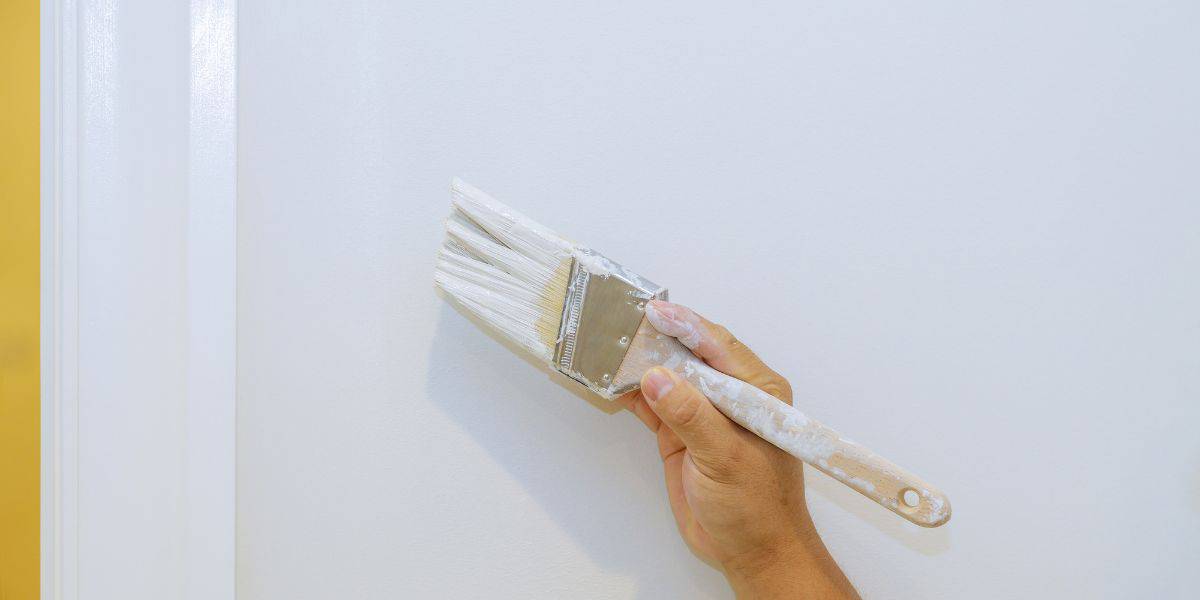
You’ve already chosen your color design for your baseboards. Now is the time to put it into action! Stain or paint your baseboards before installation. If you’re painting, prime your baseboards first for a smoother look. Remember if you are working with pine wood, you may need to apply a coat of dewaxed shellac before priming. This will keep the pitch of the pine wood from bleeding through your paint.
Install Your Custom Baseboards
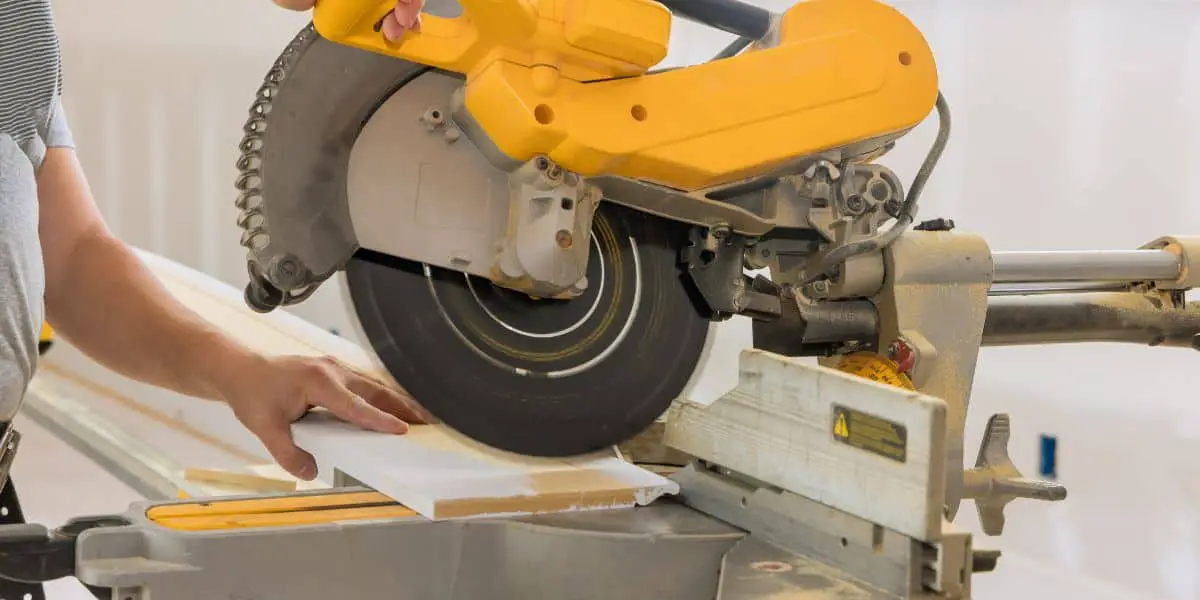
Now that you have your custom baseboards, get ready for installation! Remove old baseboards and make sure your walls and floors are smooth and free of debris. You’ll install these just like you would pre-made baseboards. Install your longest walls first. Attach your baseboards with brad nails. Use a compound miter saw to cut your corners. These will be heel or toe cuts, or 45-degree angles cut to lock your moldings together to create seamless corners.
Getting Creative
If you want to get more involved, you can create a baseboard cap with a thinner wood and then glue it to a flat baseboard. Cut a smaller molding, then rip off the design using your table saw to create a smaller cap of molding. Then glue your cap to a flat board. You can use clamps to help keep your baseboard plan during gluing. You can also create your own quarter-rounds, or smaller round pieces of wood that form baseboard foots – that extra piece of detail at the very bottom of your trim, flush to your floors. These are relatively inexpensive to buy pre-made, or you can make them even from scrap wood.


