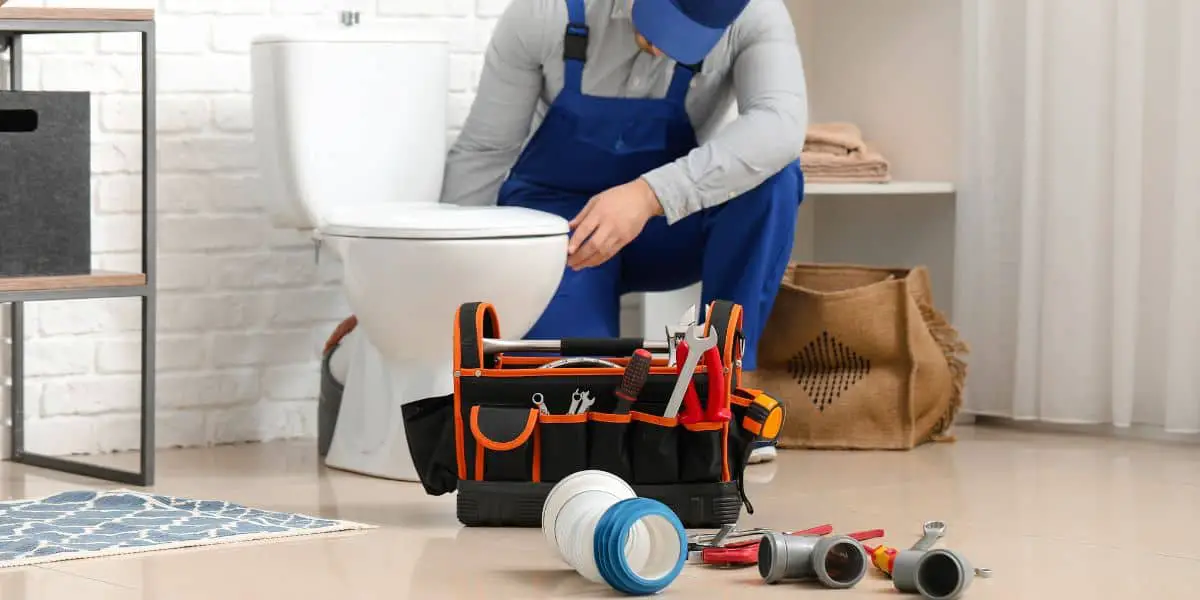
Removing a toilet may not be the most glamorous DIY project, but it’s a skill every homeowner should have in their toolkit. Whether you’re renovating your bathroom or need to replace a faulty toilet, knowing how to remove it properly can save you time, money, and potential headaches down the road. In this comprehensive guide, we’ll walk you through the step-by-step process of removing a toilet correctly. We’ll also answer a common question: Does a toilet flange need to be screwed to the floor? Let’s dive in!
Section 1: Why Would You Need to Remove a Toilet?
Before we get into the nitty-gritty of toilet removal, it’s essential to understand why you might need to do this in the first place. There are several reasons why you may want to remove a toilet, including:
- Bathroom Renovation: If you’re planning a bathroom makeover or remodeling project, you’ll need to remove the toilet to access the flooring or make other changes.
- Toilet Replacement: A malfunctioning or old toilet may need to be replaced with a new one. Removing the old toilet is the first step in this process.
- Repairing Leaks: If you notice water pooling around the base of your toilet, it may be due to a damaged wax ring or a loose flange. Removing the toilet allows you to inspect and fix these issues.
- Cleaning and Maintenance: Occasionally, you may want to remove the toilet for a thorough cleaning or to perform maintenance tasks like re-caulking around the base.
Section 2: Gathering the Necessary Tools and Supplies
Before you start removing your toilet, make sure you have all the tools and supplies you’ll need for the job. Here’s a checklist:
- Adjustable wrench
- Screwdriver
- Putty knife or scraper
- Plunger
- Bucket
- Towels or rags
- Wax ring and new toilet bolts (for reinstallation)
- Rubber gloves
- Safety goggles
Section 3: Turn Off the Water Supply
The first step in any plumbing project is to turn off the water supply. Locate the water shut-off valve, usually located behind or beside the toilet, and turn it clockwise to shut off the water. After that, flush the toilet to empty the tank and bowl. This will help minimize water spillage during the removal process.
Section 4: Disconnect the Water Supply Line
With the water supply turned off, you can now disconnect the water supply line from the toilet tank. Use your adjustable wrench to loosen the nut connecting the water supply line to the fill valve on the bottom of the tank. Have a bucket ready to catch any residual water that may drain from the line.
Section 5: Empty the Tank
To make the toilet easier to handle, you’ll want to empty the tank. Simply remove the tank lid and flush the toilet. Hold down the flush lever until most of the water has drained out of the tank.
Section 6: Remove the Toilet Tank
Next, you’ll need to remove the toilet tank from the bowl. This step is essential to reduce the overall weight and make the toilet easier to manage. Look for the bolts securing the tank to the bowl, usually located on the underside of the tank. Use your screwdriver or wrench to remove these bolts, and carefully lift the tank off the bowl. Place it aside in a safe location.
Section 7: Remove the Caps and Nuts
Now, focus on the base of the toilet bowl. You’ll find caps covering the nuts that secure the toilet to the floor. These caps are often made of plastic and can be pried off using a screwdriver or putty knife. Once the caps are removed, use your wrench to loosen and remove the nuts.
Section 8: Break the Seal
The toilet is sealed to the floor with a wax ring, which can create a tight seal over time. To break this seal, gently rock the toilet back and forth. This will help loosen the wax ring’s grip on the floor flange. Be prepared for some resistance; this is normal.
Section 9: Lift the Toilet
With the seal broken and the nuts removed, it’s time to lift the toilet from the floor. Place your hands on either side of the bowl, and, with your knees bent, lift the toilet straight up. It’s crucial to keep the toilet level to prevent any remaining water in the bowl from spilling.
Section 10: Inspect the Toilet Flange
Now, let’s address the common question: Does a toilet flange need to be screwed to the floor? The answer is yes, and here’s why:
- The toilet flange, also known as the closet flange, serves as a mounting point for the toilet and provides a watertight connection to the sewer pipe.
- To ensure a secure and stable installation, the flange should be screwed or anchored to the bathroom floor. Screws or bolts are used to secure the flange in place, preventing it from moving or shifting over time.
- If the flange is not securely fastened to the floor, it can lead to leaks, rocking toilets, and potential damage to the flooring.
- Over time, the screws or bolts used to secure the flange may corrode or become loose. If you’re removing a toilet and notice that the flange is not properly secured, it’s essential to address this issue before reinstalling the toilet.
Section 11: Inspect the Wax Ring
While you have the toilet removed, take a moment to inspect the wax ring. The wax ring sits between the toilet flange and the base of the toilet. It provides a watertight seal and prevents sewer gases from escaping into your bathroom. If the wax ring is damaged or flattened, it should be replaced with a new one before reinstalling the toilet.
Section 12: Clean and Prepare for Reinstallation
With the toilet removed, clean the area around the flange and inspect it for any damage. If the floor is damaged or rotting around the flange, repairs may be necessary before reinstalling the toilet. Ensure that the flange is level and securely fastened to the floor with screws or bolts.
Section 13: Reinstall the Toilet
Reinstalling the toilet involves reversing the removal steps. Start by placing a new wax ring onto the flange, making sure it’s centered over the opening. Carefully lower the toilet bowl onto the wax ring, aligning the mounting bolts with the holes in the base of the toilet. Press the toilet down firmly to compress the wax ring and create a watertight seal.
Section 14: Reattach Nuts and Caps
Secure the toilet in place by reattaching the nuts to the mounting bolts. Tighten them snugly but be careful not to over-tighten and crack the porcelain. Once the nuts are in place, snap the caps back over them to conceal and protect them.
Section 15: Reattach the Tank
If you removed the tank earlier, it’s time to reattach it to the bowl. Align the holes in the tank with the bolts on the bowl and secure it with the nuts. Again, tighten the nuts snugly, but avoid over-tightening, which could damage the tank.
Section 16: Reconnect the Water Supply Line
Reconnect the water supply line to the fill valve on the bottom of the tank. Use your wrench to tighten the nut, but be careful not to overtighten and risk damaging the connection.
Section 17: Turn On the Water Supply and Test
Finally, turn the water supply back on by rotating the shut-off valve counterclockwise. Allow the tank to fill, and then flush the toilet to ensure there are no leaks. Check around the base of the toilet and the water supply connection for any signs of water leakage.
Section 18: Cleaning Up
Dispose of any old wax ring and materials properly. Clean the toilet and the surrounding area thoroughly to remove any residue or marks.
Section 19: Conclusion
In conclusion, knowing how to remove and reinstall a toilet the proper way is a valuable skill for any DIY enthusiast. It can save you money on plumbing repairs and bathroom renovations while ensuring the longevity and functionality of your toilet. Additionally, understanding the importance of securing the toilet flange to the floor is essential to prevent future issues. By following the steps outlined in this guide, you can tackle toilet removal and installation with confidence and success.


