Installing plumbing for a toilet may seem like a daunting task, but with the right guidance and a little DIY spirit, you can successfully complete this project and save money on hiring a plumber. Whether you’re renovating your bathroom or adding a new toilet, this step-by-step guide will walk you through the process of installing plumbing for a toilet. We’ll cover everything from gathering the necessary tools and materials to connecting the pipes and ensuring a watertight seal. By the end of this article, you’ll have the knowledge and confidence to tackle this project on your own.
Table of contents
Gathering Tools and Materials
Before you begin, it’s essential to gather all the necessary tools and materials for the job. Having everything ready will make the installation process smoother. Here’s a list of what you’ll need:
Essential Tools:
- Adjustable wrench
- Hacksaw
- Screwdriver
- Level
- Pipe cutter
- Plumber’s tape
- Plunger
- Safety goggles
- Gloves
Required Materials:
- Toilet flange
- PVC drain pipe and fittings
- Wax ring
- Closet bolts
- Water supply line
- Teflon tape
- Toilet bowl and tank
- Toilet seat
- Caulk
Planning Your Toilet Installation
Before you start tearing up your bathroom floor, you need to plan your toilet installation carefully.
Location and Measurements:
- Choose the location for your toilet carefully. Ensure it’s near the existing drain and water supply lines.
- Measure the distance from the wall to the toilet flange to determine the rough-in distance.
- Check the rough-in distance on your chosen toilet’s specifications to ensure compatibility.
Permits and Regulations:
- Check local building codes and regulations. You may need permits for this project.
- Familiarize yourself with any specific requirements for venting and waste lines in your area.
Preparing Your Workspace
Safety is a top priority when working on plumbing projects. Take the following precautions:
Safety Precautions:
- Turn off the water supply to your bathroom.
- Ensure proper ventilation to avoid inhaling fumes from adhesives and sealants.
- Wear safety goggles and gloves to protect your eyes and hands.
Clearing the Area:
- Remove any obstacles from the workspace.
- If you have an existing toilet, remove it by disconnecting the water supply and loosening the bolts holding it to the floor.
Installing the Toilet Flange
The toilet flange is a crucial component that connects the toilet to the drain pipe. Here’s how to install it:
Marking the Location:
- Place the wax ring on the bottom of the toilet flange.
- Center the wax ring over the drainpipe.
- Mark the location of the flange screw holes on the floor.
Attaching the Flange:
- Secure the flange to the floor by driving screws through the screw holes.
- Make sure it’s level.
- Apply plumber’s tape to the outside of the drainpipe to create a watertight seal.
Installing the Drain Pipe
The drain pipe carries waste from your toilet to the main sewer line. Follow these steps for proper installation:
Measuring and Cutting:
- Measure the distance from the toilet flange to the main drainpipe.
- Cut a PVC drain pipe to the required length using a hacksaw.
Gluing PVC Pipes:
- Clean the ends of the drain pipe and any fittings with PVC primer.
- Apply PVC cement to the pipe and fittings.
- Quickly push the pieces together and twist a quarter turn to ensure a secure bond.
Connecting to the Main Drain Line:
- Attach the other end of the drain pipe to the main drain line.
- Use a rubber coupling or a no-hub coupling to connect the pipes.
- Tighten the clamps on the coupling to create a watertight seal.
Installing the Water Supply Line
Now, it’s time to connect the toilet to the water supply. Follow these steps:
Measuring and Cutting:
- Measure the distance from the water supply valve to the toilet tank.
- Cut a flexible water supply line to the required length using a pipe cutter.
Connecting to the Main Water Line:
- Attach one end of the supply line to the water supply valve.
- Connect the other end to the toilet fill valve.
- Tighten the connections with an adjustable wrench.
Testing and Adjusting
Before installing the toilet, it’s crucial to test the plumbing and make any necessary adjustments:
Checking for Leaks:
- Turn on the water supply to check for any leaks in the water supply line or drain pipe.
- Tighten any connections if you notice leaks.
- Flush the toilet to ensure the drain pipe functions correctly.
Adjusting Toilet Alignment:
- Place the wax ring on the toilet flange.
- Carefully lower the toilet onto the flange, aligning the mounting bolts with the holes in the base of the toilet.
- Gently press down to compress the wax ring and create a watertight seal.
- Tighten the nuts onto the mounting bolts to secure the toilet to the floor.
Final Steps
Your toilet plumbing installation is almost complete. Here are the final steps:
Securing the Toilet:
- Use a level to ensure the toilet is level from side to side and front to back.
- Tighten the mounting bolts evenly to secure the toilet in place.
- Trim any excess bolt length.
Caulking the Base:
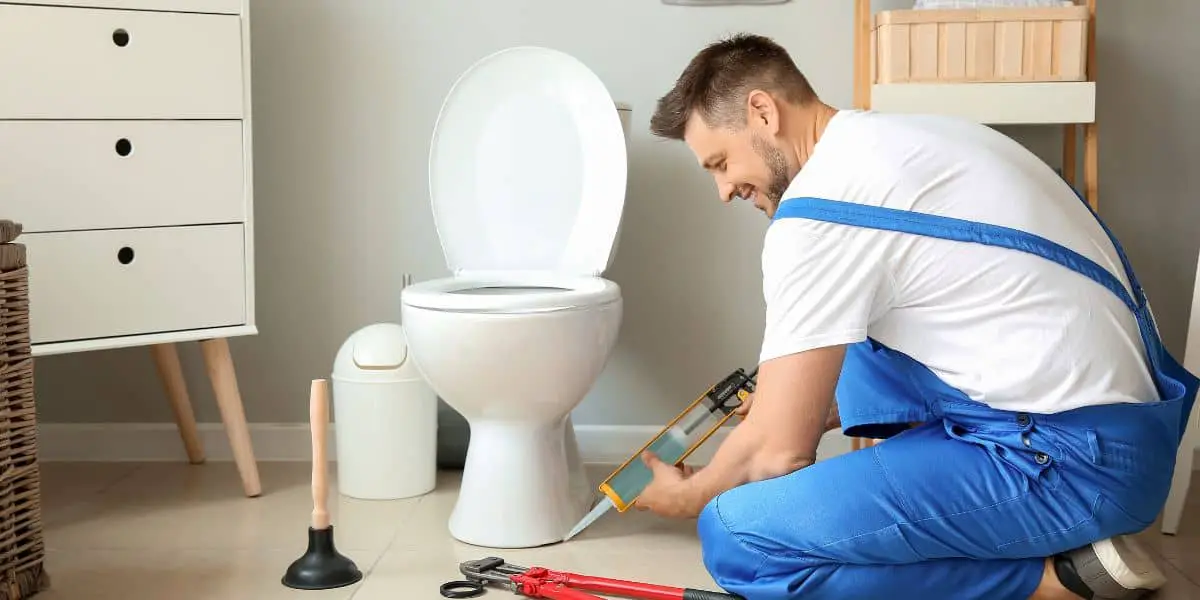
- Apply a bead of caulk around the base of the toilet to create a waterproof seal.
- Smooth the caulk with your finger or a caulk smoothing tool.
- Allow the caulk to dry according to the manufacturer’s instructions.
Conclusion
Congratulations! You’ve successfully installed plumbing for a toilet in your bathroom. By following this step-by-step guide and taking the necessary precautions, you’ve completed a significant DIY project that will improve the functionality of your bathroom. Remember to test your toilet for leaks and ensure everything is working correctly. With the right tools, materials, and knowledge, you can tackle plumbing projects with confidence and save money in the process. Enjoy your newly installed toilet and the satisfaction of a job well done!


