When it comes to DIY painting projects, achieving clean and precise edges can make all the difference in the final result. Whether you’re giving your living room a fresh coat of paint or tackling a smaller project like a piece of furniture, having the right tools for painting edges is essential. In this comprehensive guide, we’ll explore the top 20 tools that will help you achieve professional-looking edges on your DIY painting projects. From the basics to some innovative options, we’ve got you covered.
Table of contents
The 20 Best Tools
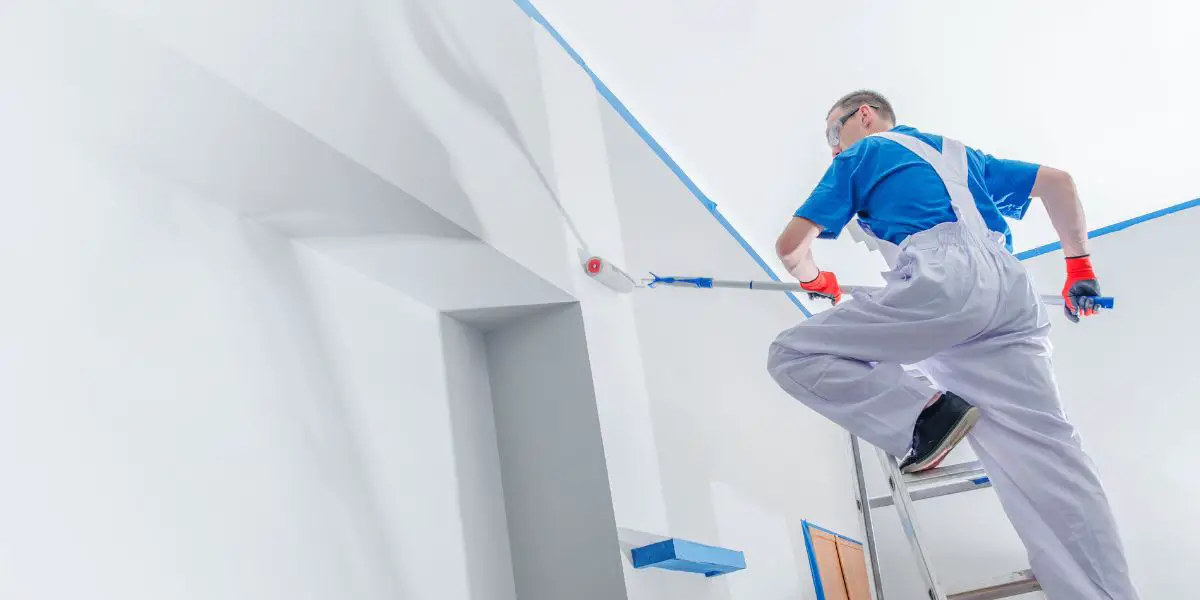
- Painter’s Tape: Starting with the basics, painter’s tape is a must-have for clean edges. It’s easy to apply and remove, ensuring your paint stays exactly where you want it.
- Paint Edgers: These handy tools have a built-in edging guide, making it easy to paint corners and edges without the need for tape.
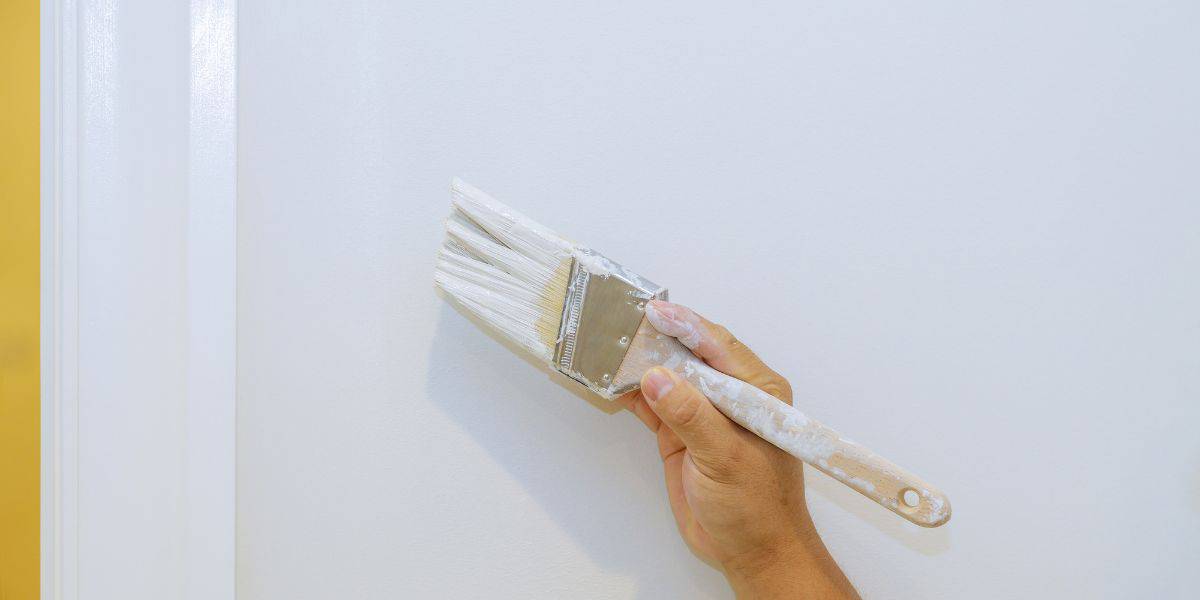
- Angled Paint Brushes: A high-quality angled brush is essential for cutting in along edges and corners. Look for one with synthetic bristles for smoother results.
- Corner Rollers: Designed specifically for painting corners, these small rollers can save you time and effort.
- Edging Pads: Edging pads are ideal for applying paint to edges and trims quickly. They’re also great for creating smooth, clean lines.
- Sponges: Natural sea sponges can be used to create interesting textures and gradients along edges.
- Stencils: If you want to add intricate designs to your edges, stencils are a creative option.
- Painter’s Pyramids: These elevate your project off the ground, allowing you to paint all edges without smudging.
- Combination Tools: Some tools combine a brush and roller, making them versatile for different types of edges.
- Painting Shields: These are great for protecting adjacent surfaces from accidental paint splatters.
- Painting Guide Tools: Guides with wheels or edges can help you maintain a consistent distance from the edge, resulting in a straight line.
- Edge Guards: Attach these to your roller frame to prevent paint from getting on adjacent surfaces.
- Putty Knives: Use these for scraping off old paint and creating smooth edges on your project.
- Caulk and Caulking Guns: For sealing gaps and cracks along edges, caulk is essential. A caulking gun makes application precise.
- Trim Rollers: These mini rollers are perfect for painting trim and edging around doors and windows.
- Detail Paint Brushes: For ultra-precise work on small edges and intricate details, invest in a set of detail brushes.
- Edging Rollers: These rollers are designed to get close to edges without smudging, making them ideal for walls.
- Chalk Line: A chalk line helps you create straight and level guidelines for your edges.
- Edge Painters: These tools are specifically designed for painting the edges of doors, cabinets, and other flat surfaces.
- Paint Edging Tools with Built-in Guides: Some advanced tools have adjustable guides that allow you to customize the width of your edge.
Now that we’ve covered the top 20 tools for painting edges, let’s delve deeper into how to use them effectively for various DIY painting projects.
Using the Right Tool for the Job
- Preparation: Before you start painting, prepare the surface by cleaning it thoroughly and making any necessary repairs.
- Primer: Apply a primer if needed, especially on bare wood or surfaces with stains.
- Choosing the Right Tool: Select the tool that best suits your project. For example, painter’s tape and edging pads are great for walls, while detail brushes and edging rollers work well for furniture.
- Technique: When using brushes, start by loading the brush with paint and then tap off the excess. For rollers, use a paint tray to evenly distribute the paint on the roller.
- Cutting In: When painting edges and corners, start by cutting in along the edge with a brush. Use long, smooth strokes and avoid overloading the brush to prevent drips.
- Rolling: After cutting in, use your chosen roller tool to apply paint to the larger surface areas. Roll in a “W” or “M” pattern for even coverage.
- Consistency: Maintain a consistent pressure and speed while painting to ensure an even finish.
- Drying Time: Follow the manufacturer’s instructions regarding drying times between coats. This is crucial for achieving a professional finish.
- Remove Tape Carefully: If you’ve used painter’s tape, remove it at a 45-degree angle while the paint is still slightly wet for clean lines.
- Clean-Up: Clean your tools immediately after use to extend their lifespan and ensure they’re ready for your next project.
Common Mistakes to Avoid
- Rushing: Don’t rush through the preparation and painting process. Take your time to achieve the best results.
- Skipping Primer: Skipping primer on certain surfaces can lead to poor adhesion and an uneven finish.
- Overloading the Brush or Roller: Overloading your tools with paint can result in drips and uneven coverage.
- Neglecting Drying Times: Failing to wait for paint to dry between coats can lead to a tacky finish and uneven color.
- Ignoring Surface Imperfections: It’s important to address surface imperfections like cracks or holes before painting.
- Using Low-Quality Tools: Investing in high-quality tools may cost more upfront, but it will save you time and frustration in the long run.
Conclusion
Achieving clean and precise edges is essential for a professional-looking finish on your DIY painting projects. The choice of tools and the correct technique can make a significant difference in the final result. Whether you’re painting walls, furniture, or trim, having the right tools from our list of the top 20 can streamline your projects and help you achieve the flawless edges you desire.
Remember to take your time with each step, from surface preparation to selecting the appropriate tool and following through with the right technique. By avoiding common mistakes and investing in quality tools, you’ll be well on your way to transforming your home with beautifully painted edges. Happy painting!


