Basements have a reputation of being dark, damp spaces for your water heater, washer and dryer, and the occasional mouse to hide, but in reality, they can be fantastic spaces for you and your family. But before you can do anything useful, you’ll need to start with a flat floor. After some research, here’s the best method you can use to level your floor.
There are two ways that you can level your basement, either a by using a concrete grind or a self-leveling agent. If using a concrete grinder;
- Purchase or Rent a Concrete Grinder
- Determine Whether the Floor Needs to be Wet or Dry
- Grind Until Flat
If using a self-leveling agent;
- Mix the Agent
- Pour
- Wait for it to Dry
Whether or not your floor is properly leveled will determine if your basement is your new favorite space in your house or a constant source of stress due to puddles of water and flooding. Thankfully, it’s easy to get your floor leveled properly. Let’s take a closer look at each of these methods and how you can apply them in your home.
Table of contents
Which Method Should you Choose?
There are two reliable methods for leveling a basement floor. One can either use a concrete grinder or a self-leveling agent. Basement floors must be leveled to help prevent flooding along with the use of sump pumps. Choosing between the different methods of leveling depends on the type of flooring planned for the finished basement.
Before you start leveling your basement floor, you need to have a general design plan for your future finished space. How you level your basement floor will dictate what flooring you can use in the finished space or in future remodels. So, if you haven’t picked out a flooring for your new craft room, hangout space, or home movie theatre, here’s the moment to do that.
If you plan to use carpeting, hardwood, or self-locking vinyl, you will want to use a concrete grinder for the majority of your work leveling your basement floor. If you plan to lay down vinyl or ceramic tile, it’s better to use a self-leveling agent.
How to Use a Concrete Grinder to Level a Basement Floor?
Get the Grinder
Okay, chances are you don’t actually use a concrete grinder on a daily basis. Most likely, you will need to rent a concrete grinder from your local home improvement store. You can also purchase one yourself, but considering it can be a significant investment, you probably don’t want to buy one unless you have a future use for it. Call your local home improvement store or visit their website to find out how to rent a concrete grinder.
Using a Concrete Grinder
Read the manual. If you’re reading this, you already know the importance of doing your research before you start such a big project. Especially if you have rented your concrete grinder, make sure you read the manual. First, this will tell you if your grinder can handle wet grinding or if you will have to dry grind.
Wet or Dry?
Wet grinding requires you to coat your entire concrete basement floor with a visible puddle of water. The water will help absorb the dust created by the grinding, making it easier to clean up after the floor has dried. Dry grinding means the dust will go everywhere, which means more of a mess to clean up afterward, but you don’t have to wait for the floor to completely dry.
Stripes!
Once you’ve completely cleared your basement floor and vacuumed it, you can begin using your concrete grinder. You’re going to push it slowly in a stripe pattern up and down your entire basement floor. Make sure you push it in a straight line. Each “stripe” will be the width of the grinder. If you hit bumps, hold the grinder over the bump for a few extra seconds. Then, repeat the process going from side to side across your basement floor, or perpendicular to your first stripes, making a “cross-hatch” pattern.
Using a Self-Leveling Agent
If you plan to install tile in your new basement, you’ll want to use a self-leveling agent to level your basement floor. Self-leveling agents are powders you mix with water to create a liquid you will pour over your entire basement floor. Make sure you get enough agent to cover your entire floor. In fact, you’ll probably want more than the package will say you need for the amount of square footage in your basement just to be sure you won’t run out.
How to Use a Leveling Agent on a Basement Floor?
Ready Your Floor
Just like with the concrete grinder method, you need to make sure your floor is completely cleared and cleaned. You will also want to block off any doorways or places you don’t want the self-leveling agent to go with strips of wood. Make sure the wood is at least two inches tall. You won’t want any of this stuff getting through!
Mix, Mix, Mix
Mix your self-leveling agent according to the package instructions in a good-sized bucket. Fill the bucket with the recommended amount of water first, then add your powdered agent. You will need a cement mixer to mix the powder into the water until it is completely dissolved and smooth. The agent should be thin enough that it spreads when poured on the floor.
Keep a Clear Path to the Exit!
Start pouring out your self-leveling agent onto your concrete floor at the point furthest from the exit. You want to make sure you can get out without walking through the goop you’re about to pour on the floor! If you absolutely have to walk through it to get out, make sure you’re wearing cleats so you’ll leave small holes instead of your entire footprint in the agent. The coating of wet self-leveling agent needs to be thick enough to cover the highest point on the floor, or the top of the largest bump, and cover the entire area you plan to level. If you run out of agent in the middle of your work, simply mix up another bucket.
Drying
Now that you’ve coated your floor, all you have to do is wait. It may take several days for the self-leveling agent to dry. The instructions of your specific self-leveling agent should specify how long it will take to dry. You can test it by gently stepping on the edge. If the coating gives at all or leaves any kind of mark, it’s not dry yet, just like cement.
Tips and Tricks
Wear goggles and a respirator when using a concrete grinder so you don’t inhale any of the dust or get it in your eyes, especially if you’re dry grinding.
If you have experience using a self-leveling agent and are in a hurry, consider using a quick-drying agent. These agents don’t level a large margin for error because of how fast they dry, so only use one if you’re confident in your abilities.
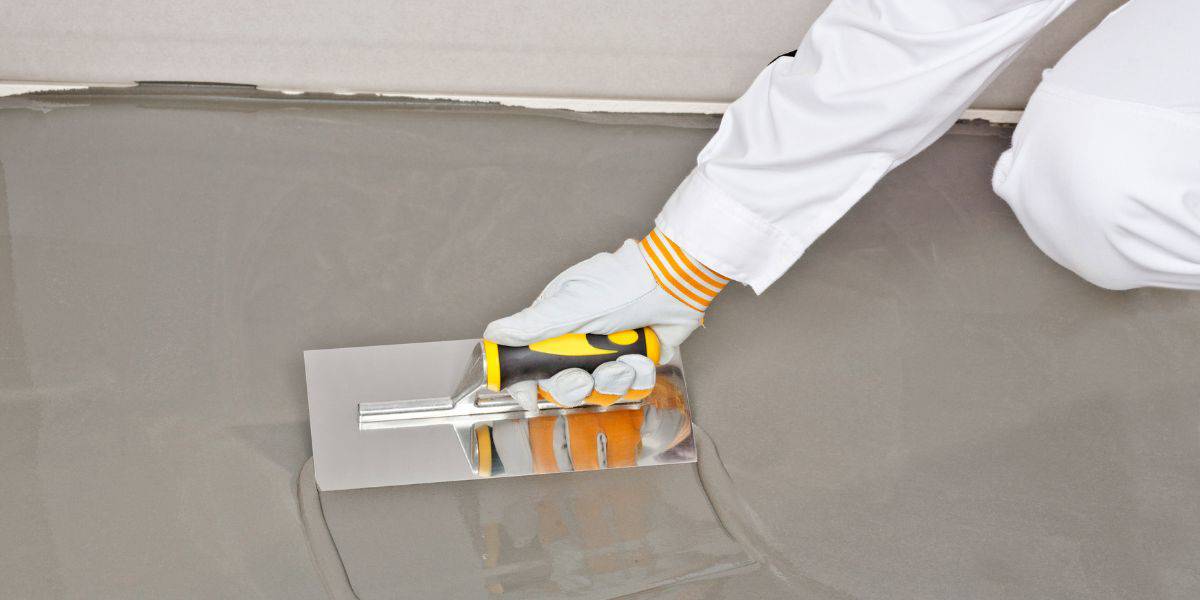
Use a trowel or squeegee to spread the self-leveling agent into corners and edges if it doesn’t spread completely by itself.
Check if your chosen self-leveling agent requires you to use a primer before applying it to your floor. Primers will help the agent bond to your floor and can usually be applied with a roller or brush.


