If you’re planning on renovating a property, you might need to remove the trim. However, this can be a difficult process. If you do it incorrectly, you risk damaging the wall. So, how do you remove trim?
To remove trim properly, you’ll first need to use a sharp knife to slice the paint away from the wall. Then, you’ll need to use a putty knife to widen the crack until a molding bar can fit inside. This should allow you to gently pry the trim away from the wall.
This process should allow you to remove trim safely. However, there are a few other things that you might need to know when doing your renovations. Let’s look at everything you’ll need to know to be able to remove the trim.
Table of contents
How Do You Remove Baseboards Without Damaging Drywall?
If you have a nice trim, you don’t want to break it during the renovation, so you’ll be able to use it in future properties. First, you’ll need to separate the molding from the wall. Then gently pry the board loose. As you’re doing this, make sure that you are using a mat under the pry bar, to protect the wall. Then, work your way down the wall, carefully removing each of the nails.
The process of removing the baseboard from the wall, while minimizing the damage can seem intimidating. Thankfully, with a little practice, it’s something that you’ll be able to master.
If the baseboards have been there for a few years, the paint has likely hardened. This increases the bond between the trim and the wall. As a result, you’ll need to trim away the paint with a sharp knife. This step ensures that the paint on the drywall won’t peel away. As you’re removing the paint above the baseboard, go slowly to minimize the amount of damage you’re causing.
By the time you’ve finished this step, you should see a crack where the baseboard meets the drywall. Next, you want to take a thin putty knife and use it to widen this crack. Do this along the length of the board. It should be large enough for you to stick a pry bar into.
When you’re ready, you’ll need to stick the pry bar into the crack. Start at one end. Before doing this, place a matt under the pry bar. This will help you spread out the force of the impact, reducing the damage that you are doing to the drywall. It can also help to use a thin pry bar; this will be easier to fit into the crack.
Continue this process, working your way down the wall. You should apply enough force to remove the nails. When this is finished, move onto the next section of the drywall. You should try to avoid applying too much force, as this risks damaging the trim. In some cases, you might need to loosen the whole section, then make your way back to the start to push it out far enough to remove the nails. To prevent damaging the boards, you’ll often need to remain patient and take your time.
When you’re finished, you’ll notice a few nails sticking out of the backboard. This can present a significant safety risk. As a result, you’ll need to remove them. In this area, you have a few options. First, you can choose to nail them in, until they are flush with the wall. Alternatively, you might want to use a hammer to remove the nails from the wall.
How To Remove Nails From The Trim?
After you’ve removed the trim from the walls, you’ll need to get the nails out of the baseboard. To do this, you’ll need to use a nipper tool, which allows you to grip the nail tightly. Then, you’ll need to remove the nail through the back of the board. If you have a miter, you’ll need to carefully pry them apart to remove the nails.
It’s common for some nails to get stuck in the trim when you remove it from the wall. If you intend to use the backboard again, you’ll need to remove these nails. You’ll need to be careful about how you do this. If you don’t do it properly the trim could be damaged, leave it unusable.
It’s important to remember that you’ll need to remove the nail from the board backward. To do this, you’ll often need to use a nipping tool. This will allow you to get a good grip on the nail, allowing you to gently wiggle it free. However, you’ll need to be careful not to apply too much pressure. If you do, you might snap the metal nails, making them impossible to remove.
If you have miters, you’ll need to take extra care. Often, these pieces have been nailed together, to create a corner piece. As a result, they can be hard to separate. In this case, you’ll need to be more patient. Make sure that you’re wiggling the pieces carefully. This should expose the nails. If you continue to do this, you should be able to gently pry the pieces apart.
How To Repair Damaged Drywall?
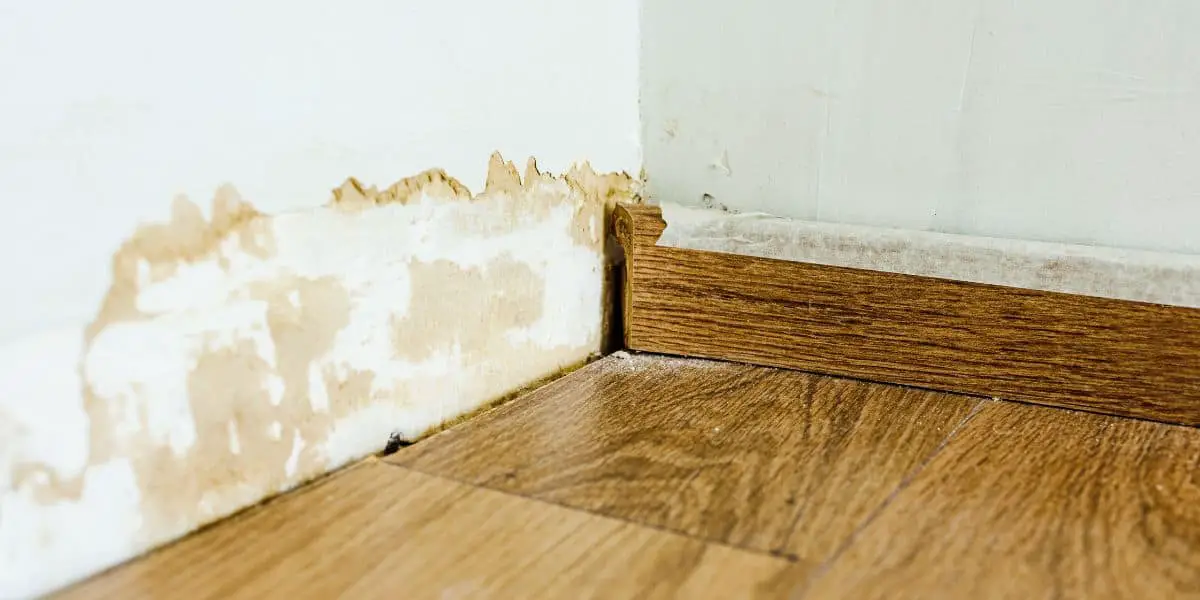
Even if you’re careful when you’re removing the baseboard, you might put a small hole in the drywall. To fix it, you’ll need to scrape away any paint, to create a flat surface. Then, use plaster over the small hole. Leave it dry before plastering over it again. Then sand it back and paint over the hole to make it less obvious.
Finding small holes in the drywall doesn’t need to be a big problem. In most cases, you’ll be able to fix them using some plaster. To apply, this you’ll need to create a flat surface. You can do this by using a putty knife to scrape away any paint. Then, fill the hole with plaster, using the putty knife to make the surface as flat as possible.
You’ll need two coats of plaster. Then, you’ll be able to sand it back, creating a flat surface. Lastly, you’ll need to paint the area. By the time you’re finished the hole should not be visible. It should be noted that this technique only works for small holes. A larger, more serious hole, should be fixed by a professional.
Related Questions
- Can you remove the trim from the cabinet? Though it can be more delicate, you will be able to remove the trim from around a cabinet. You’ll need to use a putty knife to gently create a crack. Then, working your way around the cabinet, pry off the trim.
- Where should you store trim? If you’re storing wooden trim, it’s important to make sure that you’re keeping it in a cool, dry place. This will reduce the chances of mold and water will damage the baseboards. You might also want to cover them over, to prevent dust from building up on them.
Final Thoughts
One of the most common parts of a renovation is removing the trim from the drywall. However, if you’re not delicate, you might end up damaging both the baseboard and the drywall. To prevent this, you’ll need to gently widen the crack using a putty knife. When it comes time to pry them apart, use a mat under the pry bar. This will distribute the pressure, making sure that the wall doesn’t get cracked. If you do make a small hole, you’ll be able to plaster over it. This will ensure that no-one will be able to notice the damage.


