Painting trim can be a transformative DIY project that adds a fresh and polished look to any room. However, achieving a smooth and flawless finish can be a challenge, especially when brush marks mar the beauty of your work. Fortunately, with the right techniques and a little patience, you can avoid those pesky brush marks and achieve professional-looking results. In this comprehensive guide, we’ll walk you through a range of tips and tricks to help you master the art of painting trim without leaving unsightly brush marks behind.
Table of contents
Choose the Right Brush
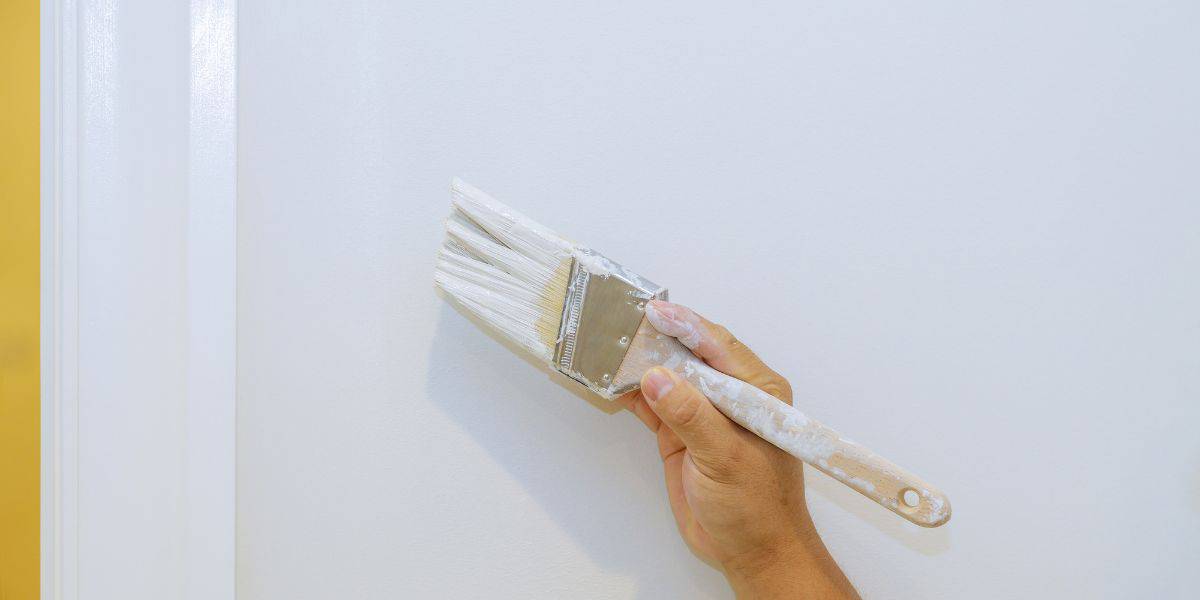
Before you even think about starting your trim painting project, the first and most crucial step is selecting the right brush. The type of brush you choose can make a significant difference in the final outcome. Here are a few pointers on selecting the perfect brush for your trim:
- Size Matters: Opt for a brush with a width that matches the width of your trim or molding. For most trim work, a 2-inch angled sash brush is a good choice.
- Bristle Type: Natural bristle brushes are excellent for oil-based paints, while synthetic brushes are better suited for water-based paints like latex. Choose the appropriate bristle type for your chosen paint.
- Angled vs. Flat: An angled brush allows for better control and precision when painting trim and corners, making it a preferred choice for most DIYers.
Prepare Your Trim
Proper preparation is essential to achieving a smooth finish on your trim. Here’s what you should do:
- Clean the Surface: Start by wiping down the trim to remove dust, dirt, and any grease or grime. A simple solution of water and mild detergent can help clean the surface thoroughly.
- Sand the Trim: Use fine-grit sandpaper (usually 220-grit) to smooth out any imperfections on the trim’s surface. Sanding also helps paint adhere better.
- Fill Any Gaps or Holes: If your trim has any gaps, holes, or cracks, fill them with a quality wood filler and sand it down once it’s dry.
- Prime if Necessary: If you’re working with bare wood or stained trim, applying a primer can help achieve better paint adhesion and coverage.
Use High-Quality Paint
The type and quality of paint you use can significantly affect the finish of your trim. Here are some guidelines to consider:
- Choose the Right Finish: For trim, a semi-gloss or gloss finish is typically recommended as it’s more durable and easier to clean.
- Quality Matters: Invest in a high-quality paint with good leveling properties. Cheaper paints often leave more brush marks due to their lower-quality ingredients.
- Stir Thoroughly: Before painting, make sure to stir your paint thoroughly to ensure a consistent texture and finish.
Painting Techniques
Now that you’ve prepared your trim and selected the right tools and paint, it’s time to delve into the painting techniques that will help you avoid brush marks:
- Use a Light Touch: Apply light pressure when brushing on the paint. Pressing too hard can cause the bristles to splay and leave brush marks.
- Brush in the Direction of the Grain: If your trim has a wood grain pattern, always brush in the same direction as the grain. This helps achieve a more natural look.
- Feather Your Strokes: To avoid visible brush marks, feather your brush strokes by lightly dragging the tip of the brush over the painted area after each pass.
- Keep a Wet Edge: Try to work quickly and maintain a “wet edge” to blend brush strokes. Avoid letting one section dry before you move on to the next.
- Overlap Slightly: Overlapping your brush strokes slightly can help eliminate visible lines and create a smoother finish.
Brushing Techniques
In addition to the general painting techniques, here are some specific brushing techniques that can help you avoid brush marks:
- Tip-Off: After applying paint to a section of trim, lightly run the tip of the brush over it to smooth out any brush marks and create a more even finish.
- Cross-Brushing: For larger trim surfaces, use a cross-brushing technique. After applying paint vertically, brush horizontally to even out the finish.
- Wet the Brush: Dipping the brush in water (for latex paints) or paint thinner (for oil-based paints) and shaking off excess liquid can help reduce brush marks.
- Use a Paint Extender: Adding a paint extender or conditioner to your paint can slow down the drying process, allowing you more time to work with the paint and achieve a smoother finish.
Practice and Patience
Achieving a flawless finish on your trim may take some practice. Don’t be discouraged if your first attempt doesn’t yield perfect results. The more you practice, the better you’ll become at avoiding brush marks. Start with a piece of scrap trim to hone your technique before tackling a larger project.
Proper Drying and Re-Coating
Allow each coat of paint to dry thoroughly before applying the next. Rushing this step can result in brush marks and uneven coverage. Follow the manufacturer’s recommendations for drying times between coats. If necessary, lightly sand between coats with fine-grit sandpaper to remove any imperfections.
Clean and Maintain Your Brushes
Taking care of your brushes is essential for achieving a smooth finish on your trim. After each use, clean your brushes thoroughly with the appropriate solvent (water for latex, paint thinner for oil-based). Reshape the bristles and store them in a way that prevents them from getting bent or damaged.
Conclusion
Painting trim without brush marks is an achievable goal with the right tools, techniques, and patience. Remember to start with proper trim preparation, choose high-quality paint and brushes, and practice your brushing and painting techniques. By following these tips and investing the time and effort into your project, you can transform your trim into a smooth, professional-looking finish that enhances the overall aesthetic of your home. So, roll up your sleeves, get your brushes ready, and enjoy the satisfaction of a job well done. Your beautifully painted trim awaits!
Here’s a helpful YouTube video titled ‘How to Paint Trim Without Brush Marks’ that visually demonstrates the techniques discussed in this blog post. In the video, you’ll find step-by-step instructions and expert tips to achieve a flawless finish. Watch it here: Watch the video


