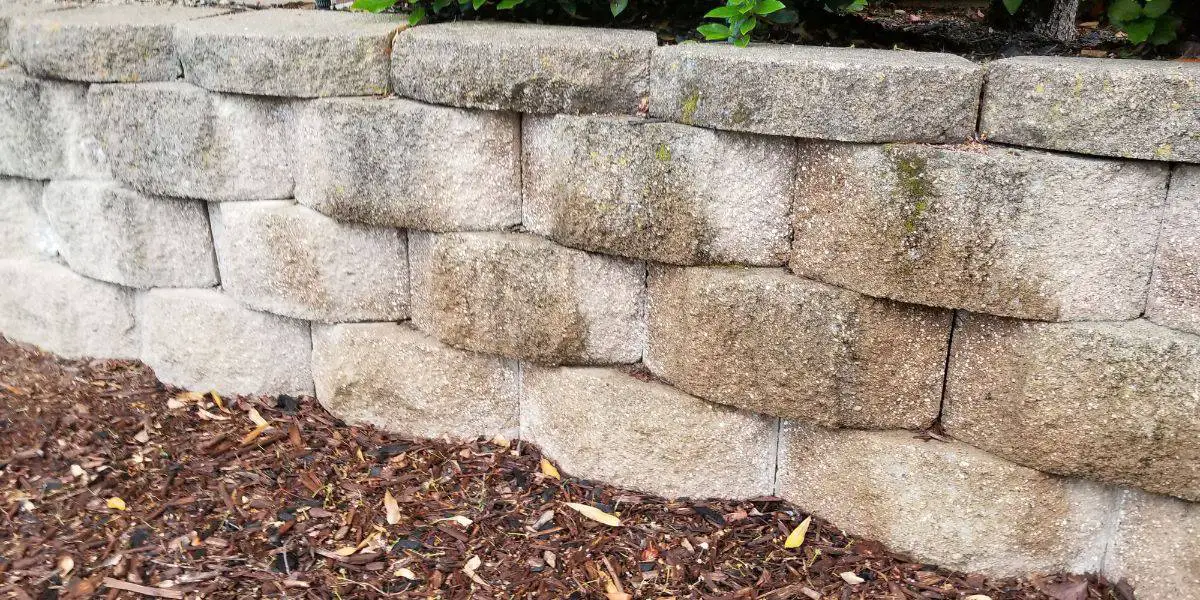
Retaining walls are an essential part of many building projects because they allow for easy leveling and preservation of the existing environment. They must be well built to withstand the force of the soil, water, and anything else pushing against it. Unfortunately, they also can be prone to failure if proper drainage is not part of the construction. So, what if you need to add drainage to an existing retaining wall? I did some research and here’s what I discovered.
There are four steps to add drainage to an existing retaining wall.
- Add the gravel backfill
- Compact the soil
- Install pipe drains
- Add weep holes
To make sure that your retaining wall lasts for a long time, you’ll need to add sufficient drainage. Thankfully, as long as you follow a few simple steps, this shouldn’t be too hard. Let’s take a closer look at the process that you’ll need to follow.
Table of contents
Why is Proper Drainage so Important?
Retaining walls are built to hold back soil, and are designed to withstand the capacity of the soil. The problem arises when water makes its way behind the wall and loads it with additional pressure. This added force and pressure can be more than the retaining wall is designed to withstand, which causes a serious risk of collapse.
Retaining walls without proper drainage are also at risk of bulging or leaning outward as a result of excess pressure on the structure. They may also leak water or mud, which can have nasty results if a retaining wall is close to a driveway or home.
How to Add Drainage to a Retaining Wall?
Now that we know why it’s so important, we can look at how you’ll be able to add drainage. It is recommended that you get a professional to help you install drainage in your existing retaining wall. Although it is not a complex process, it is important to get things right the first time. It isn’t impossible to go it alone, but if you choose to do that, make sure to do your research and give yourself an in-depth understanding of the process before you begin.
1. Add Gravel Backfill
The first step is to ensure that the material directly behind the wall is proving good drainage. Stone or gravel is the best material for behind the wall and should make up the first 12 inches of space. This ensures that when water runs or falls into the space, it can easily drain through into weep holes rather than get bogged with wet soil.
You will need to dig out 12 inches behind the retaining wall right to the bottom of the wall to replace the soil with stone or gravel. You will also need to add weep holes, or another type of drainage system, which we will discuss later. Some designs allow for the soil to cover the very top of the wall to allow for planting. Don’t plant anything with strong roots. This could impact the stability of the wall.
2. Compact the Soil Behind the Backfill
To create strength in your retaining wall and make the dirt less permeable, you want to focus on the soil layer directly behind the gravel backfill. You will need to use a plate compactor or another tool to ensure a high level of compaction. This reduces the amount of water that can make it behind the wall.
Compacting forces out air and water from the soil, and once compacted, it will remain that way for a very long period. Compacted soil should meet a standard proctor test of 90-95%. This is why it is important to use the correct tool, and not just stamp the dirt down with your feet.
3. Install pipe drains
Pipe drains or toe drains collect water under the back of the retaining wall and carry it to the outside of the wall. The drains are usually made from a perforated pipe that runs the entire length of the wall. Another variation of this drainage system has drainpipes running out the front of the retaining wall, although this version requires a far more significant rebuild of your retaining wall, and is not ideal for existing walls without any drainage.
Drains need to be placed at the base of the dug-out space behind the retaining wall and must be every 30-50 feet. This means that longer drains may require a version of drainage out the front of the retaining wall. Taller retaining walls may also require several drains further up the wall to provide adequate drainage. Using rodent debris around the pipes is a great trick to help prevent blockages in the pipes.
4. Install Weep Holes
Weep holes are small openings in the front of the retaining wall that allows moisture to escape. They can serve as an alternative to pipe dreams for very small retaining walls, but larger walls will benefit from having both systems.
Weep holes go at the base of the retaining walls, or, for structures requiring more drainage, in a grid pattern across the whole retaining wall. To make sure your wall doesn’t get stained and degraded from the moisture draining from the weep holes, protect the surrounding area of the retaining wall with waterproof overlays, varnishes, or other moisture protectants.
Weep holes can be a little tricky to install on existing retaining walls. The most common method is removing a brick every couple of feet and installing a weep hole instead. If your retaining wall is made from a material other than brick, you may be able to drill into it once you have dug out behind the wall. For concrete, you can use a power drill after you wet the area.
Adding PVC sleeves inside your weep holes is also a good idea to add another layer of protection. Cut 3-inch lengths of PVC sleeves with a handsaw, and insert one each into each weep hole. You will then need to hold a wooden black flat against the outer end of the PVC sleeve, then strike it with a steel mallet. This wedges the sleeve nice and tight and ensures the end of the PVC sleeve is flush with the outside of the weep hole.
What Are Some Tips When Adding Drainage to an Existing Retaining Wall?
While you are adding drainage to your retaining wall, you need to minimize moisture away as much as possible. Work as fast as you can and choose a weather window where it is unlikely to rain. If you do come up against some unexpected showers, use tarps to keep rainfall out of the area you are working on. Depending on the area where you are working, it may also be a good idea to divert drainage.
Final thoughts
Adding drainage to your existing retaining wall is a fairly straightforward process, but it does take a good amount of time and effort. Getting the assistance of a professional is recommended, but you can do it on your own if you choose to. Adding adequate drainage will mean that your retaining wall is far more stable and weather-resistant for many years to come.


