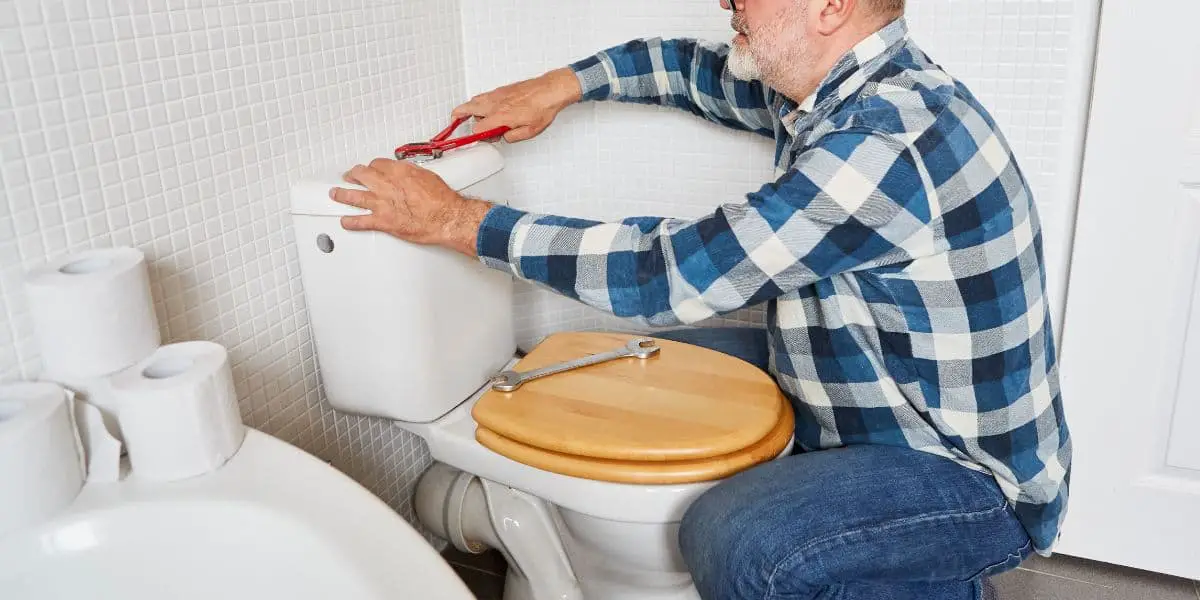
Installing a toilet on your own might seem like a challenging task, but it’s a valuable DIY skill that can save you both time and money. In this comprehensive guide, we will walk you through each step of the toilet installation process, ensuring that you have a clear understanding of how to accomplish this task with ease. Before we dive into the details, let’s gather all the necessary tools and materials to get started.
Table of contents
Tools and Materials You Will Need
Before beginning the installation process, it’s crucial to have the following tools and materials at your disposal:
- New Toilet
- Wax Ring
- Adjustable Wrench
- Screwdriver
- Closet Bolts
- Level
- Hacksaw
- Bucket
- Sponge
- Toilet Tank Kit (if not included)
- Caulk and Caulk Gun
- Teflon Tape
- Plunger
Now that we have everything ready, let’s begin the installation process.
A Step-by-Step Guide
Step 1: Turn Off the Water Supply
The first step in installing a toilet is to shut off the water supply. Locate the shut-off valve, which is typically positioned on the wall behind the toilet. Turn the valve clockwise until it is completely closed. After shutting off the water, flush the toilet to empty both the tank and the bowl.
Step 2: Remove the Old Toilet
To remove the old toilet, use your adjustable wrench to disconnect the water supply line from the bottom of the toilet tank. Be prepared for some water spillage, so keep a bucket and sponge handy to catch any drips. After disconnecting the water supply line, remove the nuts from the closet bolts securing the toilet to the floor. Carefully lift the old toilet and place it in a safe location.
Step 3: Prepare the Closet Flange
Inspect the closet flange, which is the pipe fitting in the floor where the toilet was previously attached. Ensure it’s in good condition and securely anchored to the floor. If it’s damaged or loose, it should be replaced or repaired before proceeding.
Step 4: Install New Closet Bolts
If your old closet bolts are in good shape, you can reuse them. Otherwise, install new ones. Closet bolts secure the toilet to the closet flange. Insert them into the slots on the flange and tighten the nuts to secure them in place.
Step 5: Install the Wax Ring
Place the wax ring on top of the closet flange, ensuring that it’s centered over the hole. The wax ring creates a watertight seal between the toilet and the sewer pipe. Gently press the wax ring onto the flange to secure it in place.
Step 6: Set the New Toilet
Carefully lift the new toilet and lower it onto the closet bolts, ensuring they pass through the holes in the base of the toilet. Make sure the toilet is centered over the wax ring and gently press it down to compress the wax ring and create a tight seal.
Step 7: Secure the Toilet
Place the washers and nuts provided with your toilet onto the closet bolts. Tighten them evenly with a wrench, alternating between sides to ensure the toilet is securely fastened to the floor. Be cautious not to overtighten, as this can damage the toilet or flange.
Step 8: Connect the Water Supply
Reconnect the water supply line to the fill valve on the bottom of the toilet tank. Use your adjustable wrench to tighten it snugly but not excessively tight. Turn the shut-off valve on to allow water to flow into the tank.
Step 9: Check for Leaks
Turn on the water supply and let the tank fill. While the tank is filling, inspect the base of the toilet for any signs of water leakage. If you notice any leaks, shut off the water supply immediately and check the wax ring and closet bolts for proper installation.
Step 10: Install the Toilet Tank Lid and Seat
With the tank filled, place the lid onto the toilet tank, ensuring it sits evenly and securely. Next, install the toilet seat according to the manufacturer’s instructions.
Optional Step: Apply Caulk
Some people choose to apply a thin bead of caulk around the base of the toilet for a more finished look and to prevent potential moisture from seeping under the toilet. If you opt for this, use caulk specifically designed for toilets and follow the manufacturer’s instructions.
Maintenance Tips for Your Newly Installed Toilet
Congratulations on successfully installing your toilet! To ensure it functions smoothly for years to come, here are some essential maintenance tips:
- Regular Leak Inspections: Periodically check for leaks at the base of the toilet and around the water supply connection.
- Stability Check: Ensure the toilet remains stable and doesn’t wobble. If it does, tighten the closet bolts.
- Flush Mechanism Maintenance: Maintain the flush mechanism and fill valve to prevent water wastage. Replace worn-out parts promptly.
- Regular Cleaning: Clean the toilet regularly to prevent stains and odors from accumulating.
- Clog Management: Use a plunger or plumbing snake to clear minor clogs. Avoid harsh chemical drain cleaners, as they can harm your plumbing.
Conclusion
Learning how to install a toilet yourself is a valuable DIY skill that can save you both time and money. With the right tools, materials, and our step-by-step guide, you can confidently tackle this task and enjoy a well-functioning toilet in your home. Always prioritize safety and attention to detail during installation, and if you encounter challenges beyond your comfort level, consider consulting a professional plumber. Happy DIY plumbing!


