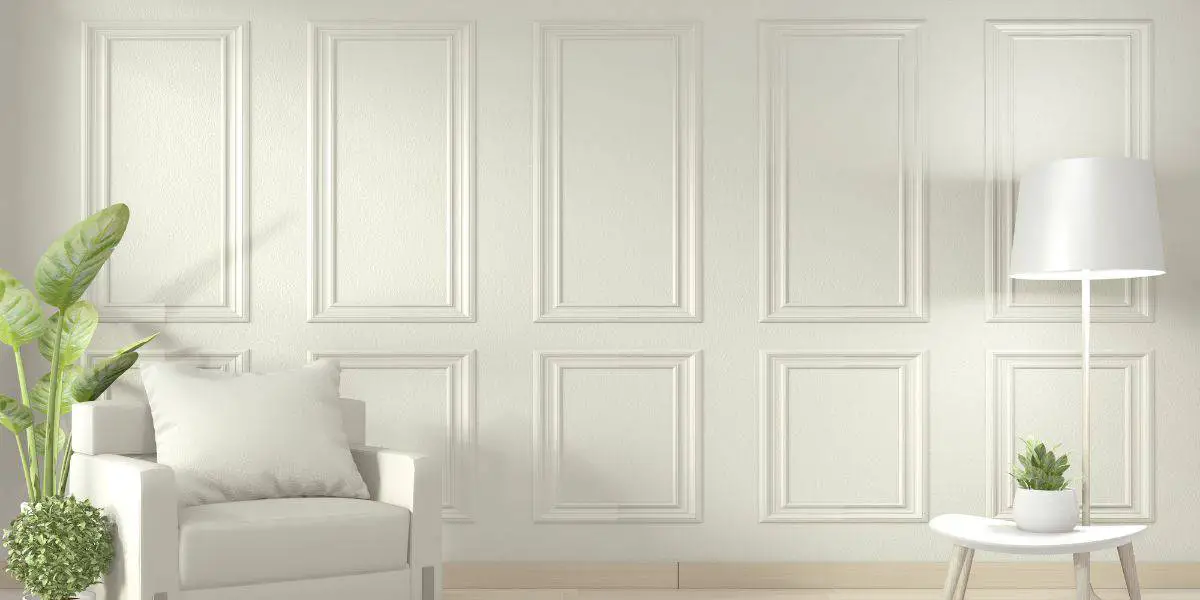
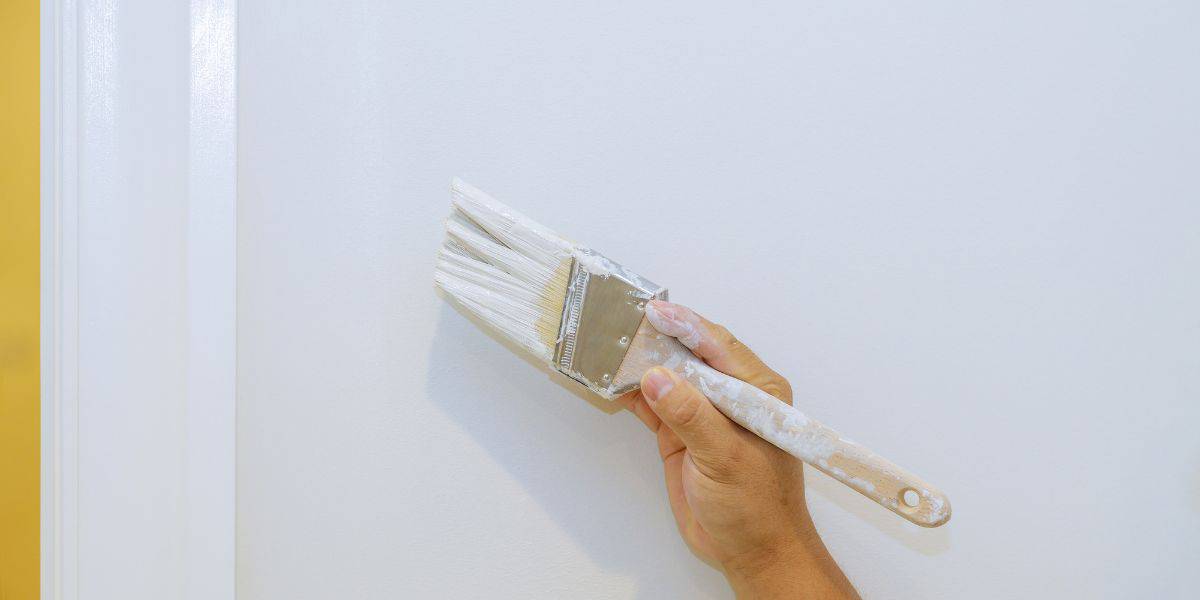
Welcome to our comprehensive guide on mastering the art of painting around molding. Whether you’re a seasoned DIY enthusiast or just starting on your home improvement journey, tackling the task of painting around molding can be a bit intimidating. But fear not, as we’re here to equip you with the knowledge and techniques to make this process a breeze.
In this step-by-step tutorial, we will cover everything from the essential tools and materials you need to detailed instructions on preparing your molding and walls for painting. By the end of this guide, you’ll have the confidence and skills to achieve clean, precise lines and a flawless finish. Let’s dive right in and transform your living space!
Table of contents
Gathering Your Tools and Materials
Before you begin your painting project, it’s essential to gather the right tools and materials. Here’s what you’ll need:
Tools:
- Paintbrushes: Invest in high-quality angled brushes for precision.
- Painter’s Tape: Use delicate surface painter’s tape for clean edges.
- Drop Cloths or Plastic Sheeting: To protect your floors and furniture.
- Sandpaper: For smoothing rough areas on the molding or walls.
- Primer: Choose a primer suitable for your walls and molding material.
- Paint Trays and Rollers: For larger surfaces, consider a paint roller.
- Rags or Sponges: Handy for cleaning up spills and excess paint.
- Small Paint Edger: A useful tool for tight spaces.
Materials:
- Paint: Select a high-quality paint in your desired color and finish.
- Painters’ Putty or Caulk: To fill any gaps or cracks in the molding.
- Degreaser or TSP (Trisodium Phosphate): For cleaning surfaces before painting.
Having these items at your disposal will make the process smoother and more efficient. Once you’ve gathered everything, it’s time to move on to the next step.
Preparing Your Workspace
Clear the Area
Start by removing any furniture or decor that might be in the way. Clearing the room will provide you with ample space to work around the molding and avoid accidental paint splatters.
Protect Floors and Furniture
Lay down drop cloths or plastic sheeting to shield your floors and furniture from paint splatters and spills. Ensure that these protective covers are secure and cover a wide area to catch any stray drops.
Remove Hardware
If your molding has any hardware such as knobs, handles, or fixtures, it’s best to remove them temporarily. This will allow you to paint around them more easily and achieve a neater finish. Use a small plastic bag to store all the hardware and screws, so you don’t lose them.
Clean the Surfaces
Before you start painting, it’s crucial to clean the molding and adjacent wall surfaces thoroughly. Use a degreaser or TSP solution to remove any dirt, dust, or grease. A clean surface ensures better paint adhesion and a smoother finish.
Sand and Fill Imperfections
Inspect the molding for any imperfections such as dents or uneven surfaces. Use sandpaper to smooth out these areas. For gaps or cracks between the molding and the wall, apply painters’ putty or caulk and allow it to dry. Sand the dried putty or caulk until it’s flush with the molding.
With your workspace prepared, you’re now ready to move on to the actual painting process.
Applying Painter’s Tape
Painter’s tape is your best friend when it comes to achieving clean and precise paint lines around molding. Here’s how to use it effectively:
Choose the Right Tape
Select a delicate surface painter’s tape that is designed to adhere without causing damage or leaving residue. This type of tape is ideal for use on painted surfaces and delicate molding materials.
Measure and Cut
Measure the lengths of tape you’ll need for each section of molding. Cut the tape, leaving a bit of excess at the ends to ensure complete coverage.
Apply the Tape
Carefully apply the tape along the edges of the molding, ensuring it adheres firmly to both the molding and the wall. Make sure the tape is level and straight for a professional finish.
Seal the Edges
To prevent paint from bleeding under the tape, use a putty knife or your fingernail to press down and seal the edges of the tape firmly against the molding.
By taking these steps, you’ll create a barrier that will protect your molding from accidental paint smudges. Now, let’s move on to the painting process itself.
Priming Your Surfaces
Priming is an essential step that helps the paint adhere better, ensures uniform color, and covers imperfections. Here’s how to prime effectively:
Choose the Right Primer
Select a primer that matches the type of paint you’ll be using (e.g., latex or oil-based) and is suitable for your wall and molding material. If you’re unsure, consult your local paint store for recommendations.
Stir the Primer
Before applying the primer, give it a good stir to ensure a consistent texture.
Apply the Primer
Use a paintbrush or roller to apply the primer to the molding and the adjacent wall surfaces. Start with the molding and work your way outward. Be sure to follow the manufacturer’s instructions for drying times between coats.
Sand If Necessary
After the primer has dried, inspect the surfaces for any rough spots or imperfections. Lightly sand any problem areas to ensure a smooth surface.
Apply Additional Coats
Depending on the condition of your surfaces and the primer you’re using, you may need to apply a second coat. This will provide an even better base for your paint.
Painting Around Molding
Now that you’ve prepared the surfaces and applied primer, it’s time to start painting. Here’s how to do it with precision:
Choose Your Paint
Select a high-quality paint in the color and finish of your choice. Semi-gloss or satin finishes are often recommended for molding as they are easy to clean and provide a subtle sheen.
Mix the Paint
Stir the paint thoroughly to ensure an even consistency. Pour a small amount into a paint tray or use a roller pan for larger surfaces.
Start with the Molding
Begin by painting the molding itself. Use a high-quality angled brush for this task. Apply the paint in smooth, even strokes, following the grain of the molding.
Feather the Edges
To create a seamless transition between the molding and the wall, feather the paint along the edges. This means gradually decreasing the amount of paint applied as you move away from the molding.
Cut In Along the Edges
With the molding painted, it’s time to cut in along the edges where the molding meets the wall. Use a smaller paintbrush or an edging tool for this task. Be patient and work carefully to achieve clean lines.
Paint the Wall
Once the edges are neatly painted, use a roller or a larger brush to paint the rest of the wall. Work from top to bottom, overlapping your strokes slightly to avoid streaks.
Remove the Painter’s Tape
While the paint is still wet, carefully remove the painter’s tape at a 45-degree angle. Removing it while the paint is wet helps prevent the tape from tearing and ensures crisp lines.
Touch-Up as Needed
Inspect the painted surfaces for any imperfections or areas that may need touch-ups. Use a small brush to correct any mistakes.
Final Steps and Cleanup
Congratulations, you’ve successfully painted around your molding! Now, let’s wrap up the project:
Allow the Paint to Dry
Give the paint ample time to dry before moving furniture back into the room or replacing any hardware on the molding. Follow the manufacturer’s recommendations for drying times.
Clean Your Tools
Thoroughly clean your paintbrushes, rollers, and any other tools you used with the appropriate cleaning agents. Properly cleaning your tools will prolong their lifespan and ensure they’re ready for your next project.
Dispose of Paint and Materials
Dispose of any leftover paint, primer, and used materials according to your local regulations. Some areas have specific guidelines for the disposal of paint and paint-related items.
Admire Your Handiwork
Step back and admire the transformation you’ve achieved! Painting around molding can be a challenging task, but with patience and the right techniques, you’ve created a stunning result.
Conclusion
Mastering the art of painting around molding is a skill that can enhance the look and feel of your home. By following the steps outlined in this comprehensive guide, you’ve gained the knowledge and confidence to tackle this project with ease. Remember to take your time, choose quality materials, and don’t rush the process.
Whether you’re refreshing your living room, bedroom, or any other space with molding, the key to success lies in careful preparation and precise execution. With practice, you’ll become a pro at achieving clean, professional paint lines that make your home truly shine.
So, roll up your sleeves, gather your tools, and let your creative vision come to life as you paint around molding like a pro. Happy painting!
A Visual Guide to Painting Around Molding
Watch this informative video for a visual guide on mastering the art of painting around molding. Learn practical tips and techniques to achieve clean, professional results in your DIY painting projects. Don’t forget to like and subscribe for more helpful DIY tutorials!


